

How to Send Secure Messages from the XQ Dashboard

This article provides instructions for encrypting and sending messages from the XQ Dashboard.
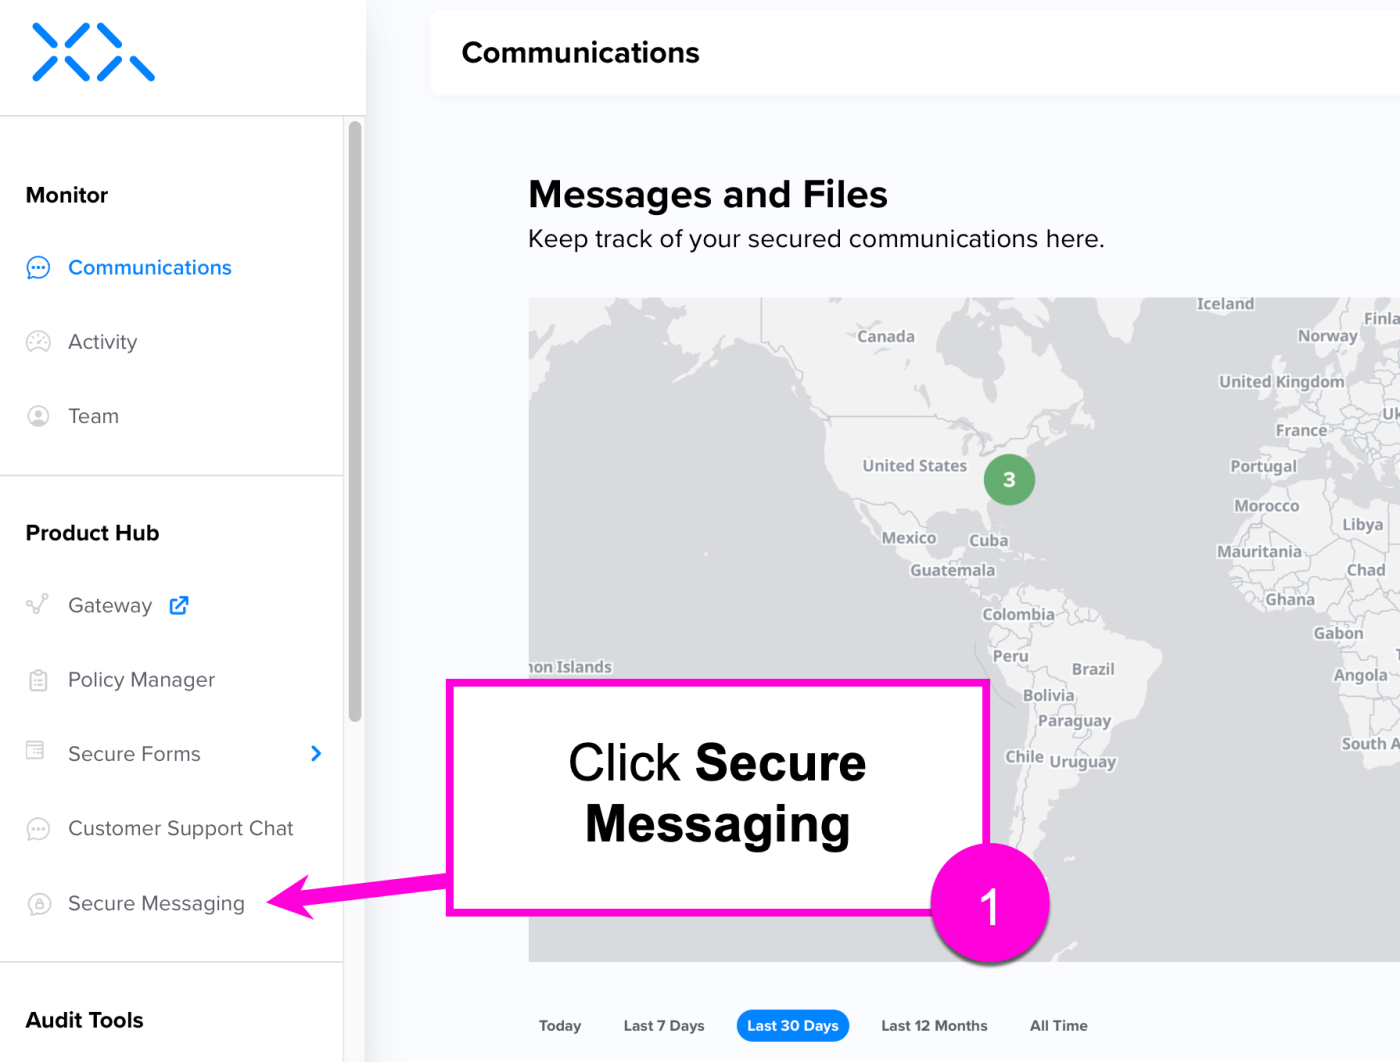
Step 1: Log in to your XQ Dashboard at manage.xqmsg.com and click Secure Messaging from the Product Hub menu.
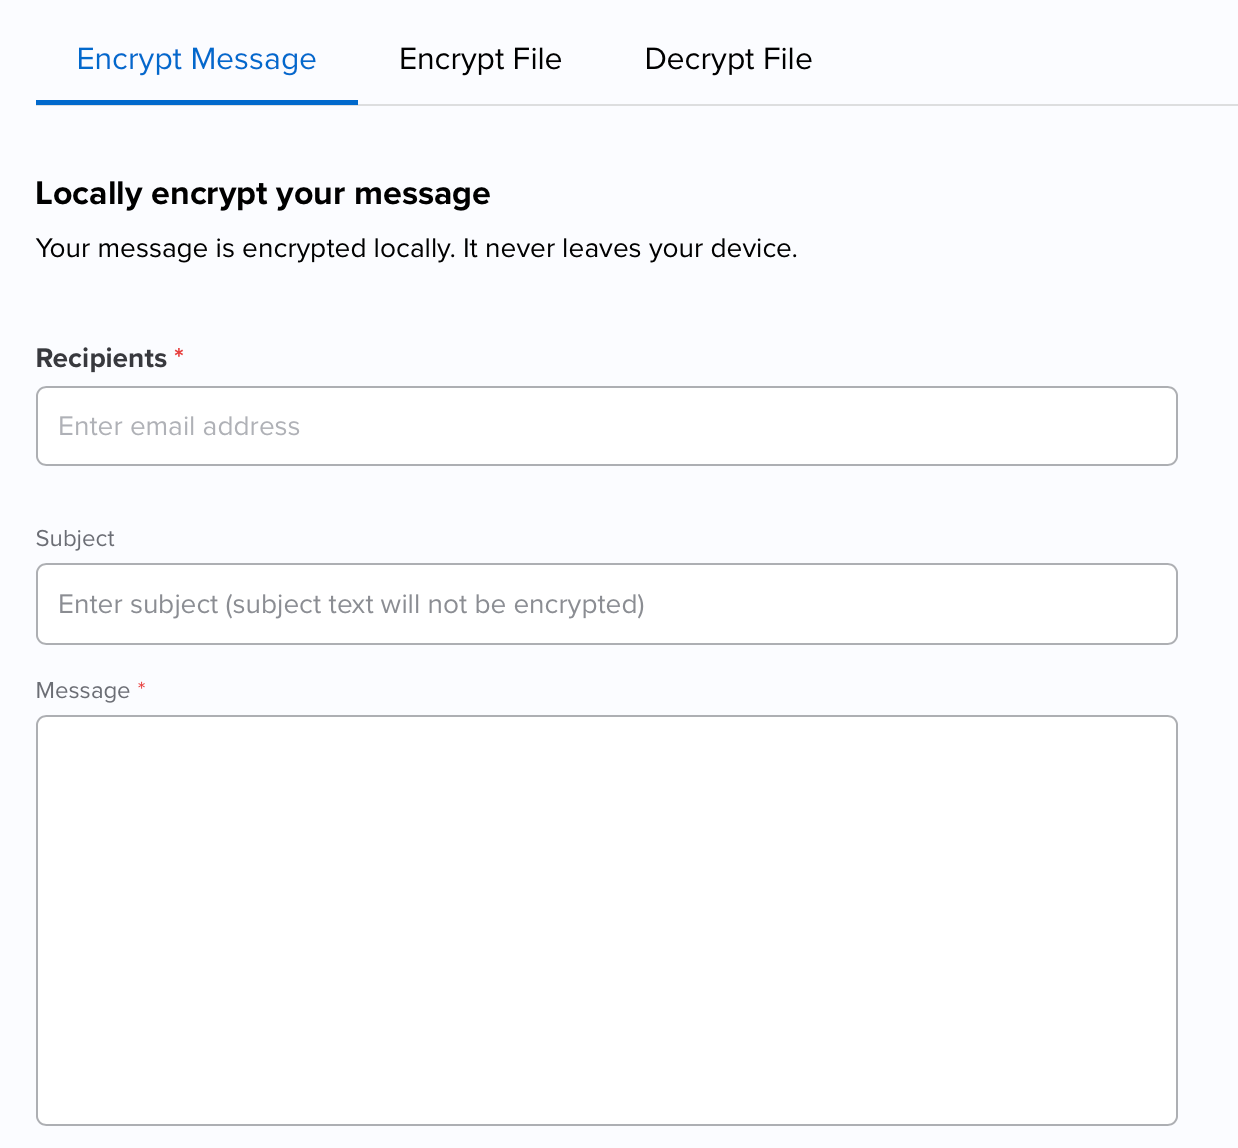
Step 2: Add Recipients, then fill out your Subject and Message.
Step 3: Attach a file if necessary and set a Message Expiration time frame.
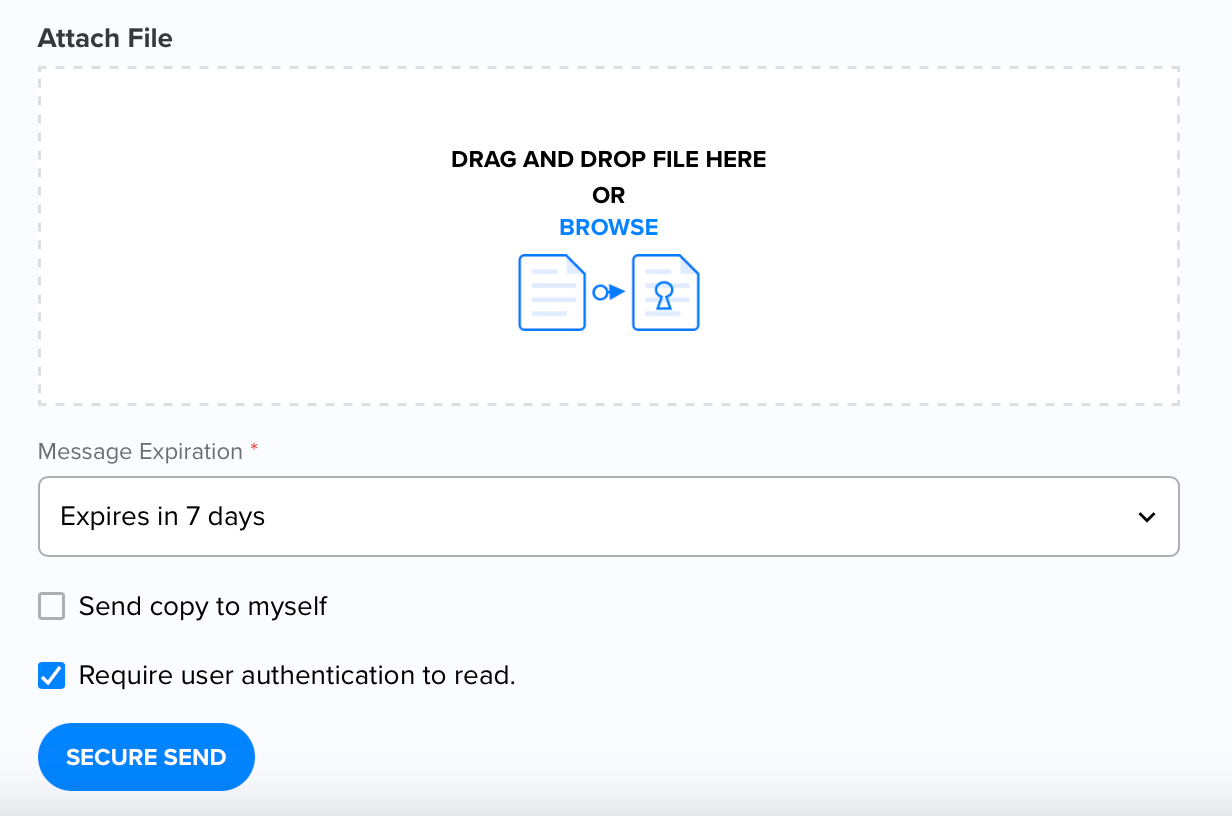
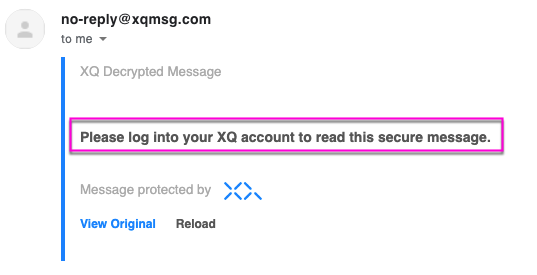
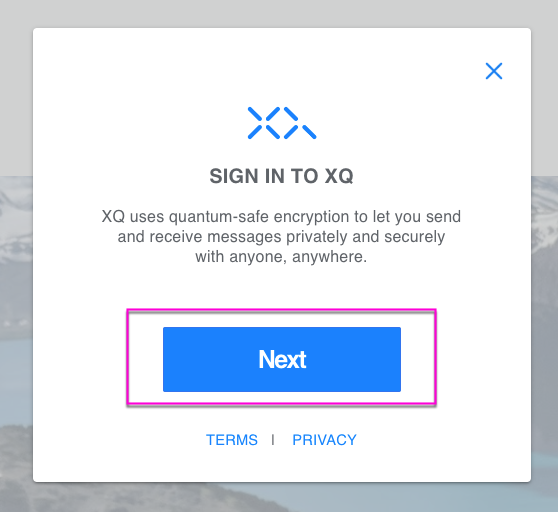
Optional - Tick the Send copy to myself checkbox to send a copy of the message to your email address. You can also tick the Require user authentication to read checkbox to require your recipient to authenticate with their XQ account to open the message. If this option is enabled and your recipient is not already authenticated, the email the recipient receives will display a note that reads "Please log into your XQ account to read this secure message". It will then automatically open a window asking them to sign in:
Step 4: Click Secure Send to send the message.