

Creating and Managing Teams

SuperUsers and Admins can create and manage teams in the XQ Dashboard to organize and monitor communications.
This article provides instructions for creating a new team and guidance for managing teams.
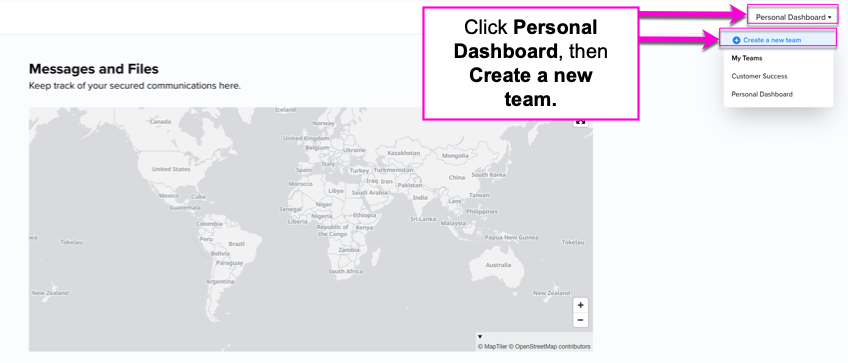
Step 2: In the dropdown menu, select + Create a new team.
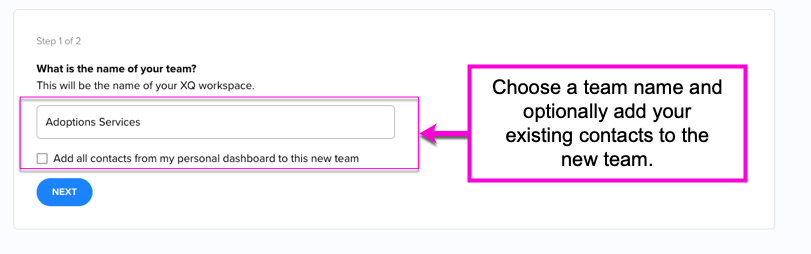
Step 3: Input your team name.
Optional - If you already have contacts in your personal dashboard, you can choose to add existing contacts to your new team. Select the checkbox to add existing contacts.
Click NEXT to proceed.
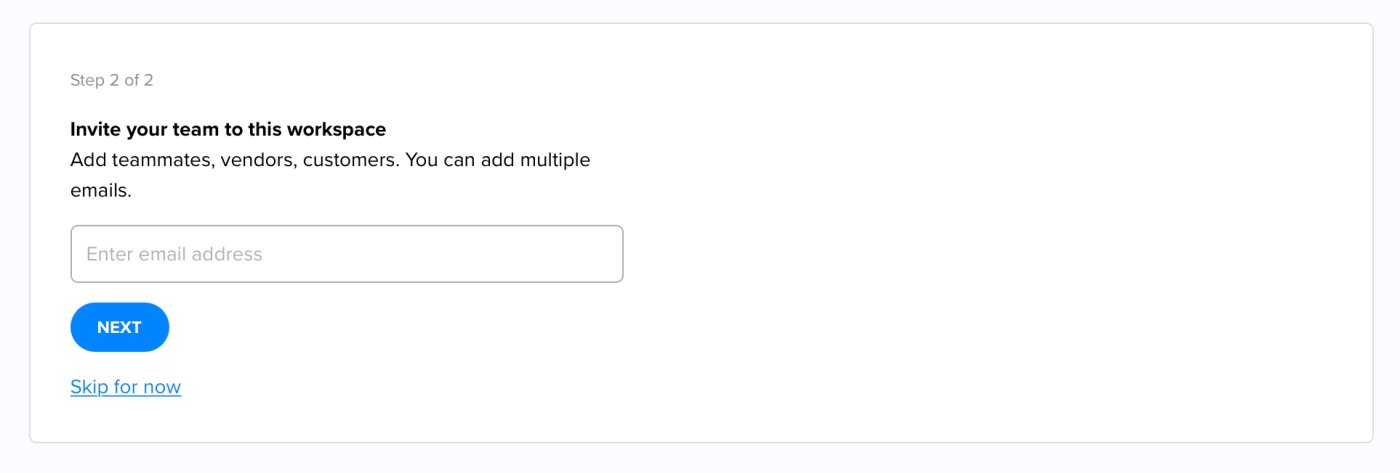
Step 4: Invite members to your team by entering their email addresses in the text field and clicking NEXT. You can also choose Skip for now to add team members later. For instructions on adding team members, see How to Add Multiple Team Members.
Step 2: Click the Team tab from the Dashboard's navigation menu. Under the Team page, you can review authorized team members and their roles. You can also new team members on this page.
Step 3: To view communications and activities of individual team members, click on the team member's name. On the Team Member Details page, you can monitor team member activities and communications, emails, titles, statuses, roles, and last login date. You can also click EDIT INFO to disable or delete a team member.
If you need to edit a team member's role, see Team Member Roles and Privileges for a description of each role.
For instructions on adding team members, see How to Add Team Members.
This article provides instructions for creating a new team and guidance for managing teams.
Create a new team
Step 1: Log in to the XQ Dashboard and click Personal Dashboard in the top-right corner.Step 2: In the dropdown menu, select + Create a new team.
Step 3: Input your team name.
Optional - If you already have contacts in your personal dashboard, you can choose to add existing contacts to your new team. Select the checkbox to add existing contacts.
Click NEXT to proceed.
Step 4: Invite members to your team by entering their email addresses in the text field and clicking NEXT. You can also choose Skip for now to add team members later. For instructions on adding team members, see How to Add Multiple Team Members.
Manage your team
Step 1: Log in to the XQ Dashboard and select your team's dashboard in the top-right corner.Step 2: Click the Team tab from the Dashboard's navigation menu. Under the Team page, you can review authorized team members and their roles. You can also new team members on this page.
Step 3: To view communications and activities of individual team members, click on the team member's name. On the Team Member Details page, you can monitor team member activities and communications, emails, titles, statuses, roles, and last login date. You can also click EDIT INFO to disable or delete a team member.
If you need to edit a team member's role, see Team Member Roles and Privileges for a description of each role.
For instructions on adding team members, see How to Add Team Members.
Tagged: